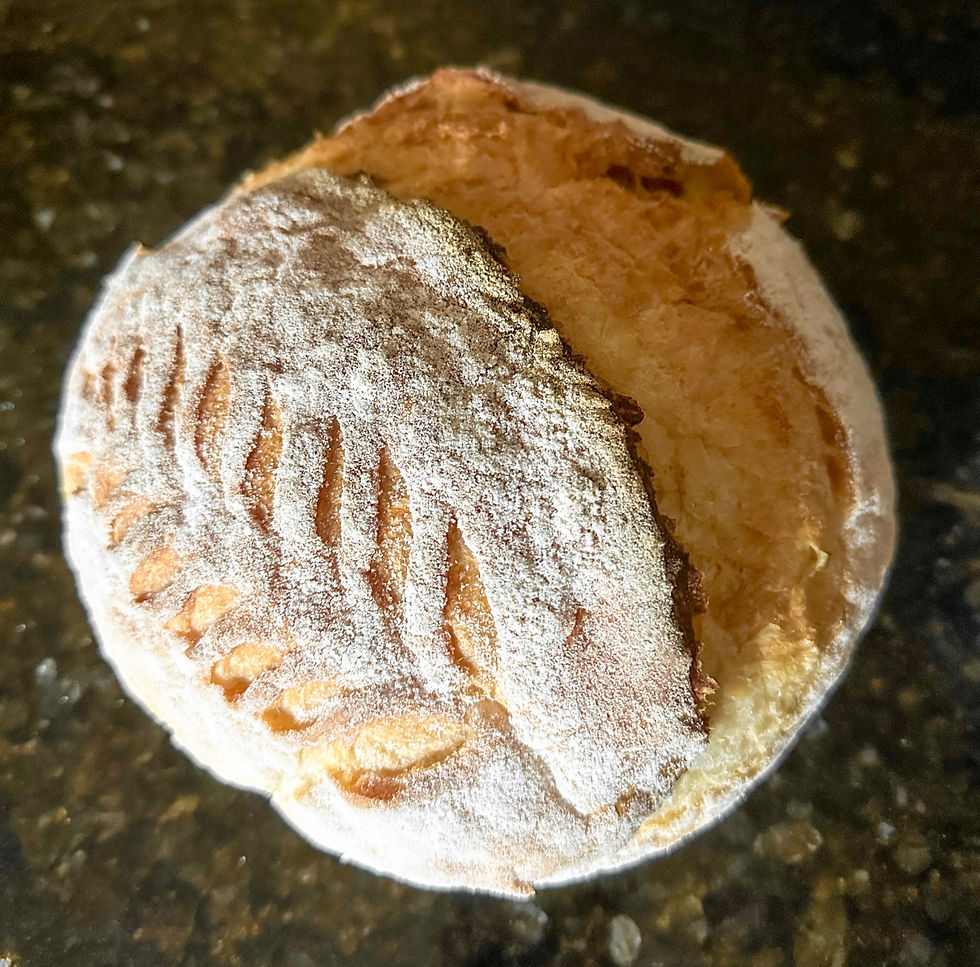
Artisan White Bread
- Denielle Burdick

- May 7, 2024
- 2 min read

In the world of bread, artisan white bread holds a special place, revered for its simplicity, yet celebrated for the complexity of flavor and texture that skilled bakers can coax from its basic ingredients. Unlike its mass-produced counterparts, artisan white bread embodies the care, technique, and tradition of breadmaking, turning flour, water, salt, and yeast into a sublime experience. Each loaf is a testament to the baker's craft, with a crust that's perfectly golden and a crumb that's tender yet chewy, a delightful contrast that engages all the senses. This bread's versatility makes it a staple in any kitchen, seamlessly transitioning from a crunchy toast at breakfast to a hearty companion for soups and stews at dinner. The rise of artisan white bread speaks to a broader resurgence of appreciation for craftsmanship in our food, where the story behind the loaf is as important as the slice on your plate. In embracing artisan white bread, we're not just nourishing our bodies, but also supporting a tradition of baking that prioritizes quality, sustainability, and community.
Ingredients:
- 450g all-purpose flour
- 350g warm water
- 1 packet of yeast (8g)
- 9g salt
Instructions:
1. Prepare the Dough: In a large mixing bowl, combine the flour, warm water, yeast, and salt. Mix them together until you have a shaggy dough. Don't worry about getting it perfectly smooth at this stage; the aim is to ensure all the ingredients are well combined.
2. First Rise: Cover the bowl with a damp cloth or plastic wrap and let the dough rise for 1 hour at room temperature. During this time, the yeast will begin its work, and you'll start to see the dough increase in volume.
3. Coil Folds: After the first rise, perform 8-10 coil folds on the dough. This involves gently lifting and folding the dough over itself in the bowl, which helps develop the gluten structure without traditional kneading. This step is crucial for achieving the desired texture in your bread.
4. Second Rise: Let the dough rise for another 2 hours. This longer rise allows for the development of flavor and further increases the dough's volume.
5. Preheat the Oven: Place a Dutch oven inside your oven and preheat it to 550°F (290°C). The Dutch oven will simulate a professional baker's oven, creating a steamy environment that's key for getting a beautiful crust.
6. Bake: After the second rise, carefully remove the Dutch oven from the oven (it will be extremely hot). Gently place the dough inside, cover it with the lid, and reduce the oven temperature to 450°F (230°C). Bake with the lid on for 20 minutes, then remove the lid and continue baking for another 20 minutes until the bread is golden brown and sounds hollow when tapped on the bottom.
7. Cooling: Allow the bread to cool on a wire rack before slicing. This waiting time can be difficult, but it's essential for the bread to set and develop its flavors fully.
Enjoy your homemade artisan bread, perfect for any occasion from a simple breakfast toast to an elegant dinner side.


Comments